Download the Selecto Software
Go to the Selecto Website and Register yourself. Now you are able to download the Software Setup file by clicking the Download Button.
Install and Sign In into the Software
For Installing the software run the setup file. After Installing Open the Software and Sign In to your account which you register in the website.
Create your First Project
Click the 'Create Project' button and enter your project name then click on project button. Your project Created.
Load the folder into your project and save it.
After creating project click on add folder button and choose the folder, after adding all your folders save the folder and go to the next step.
Choose Logo and Watermark for the Photos
Choose your logo or go for the selecto default logo and type the text for the watermark text, all changes live preview in the right side.
Compress and Upload all your folders
Now click on Compress button of the folders once folder compressed Upload button apperar click and upload the folder.
Add Money to your Selecto Wallet
You can add money with coupon or simply enter the amount and click on add money and pay via UPI or Netbanking. After Successful Transaction your money will added to your selecto wallet.
Pay for your Saved Project and Share Link
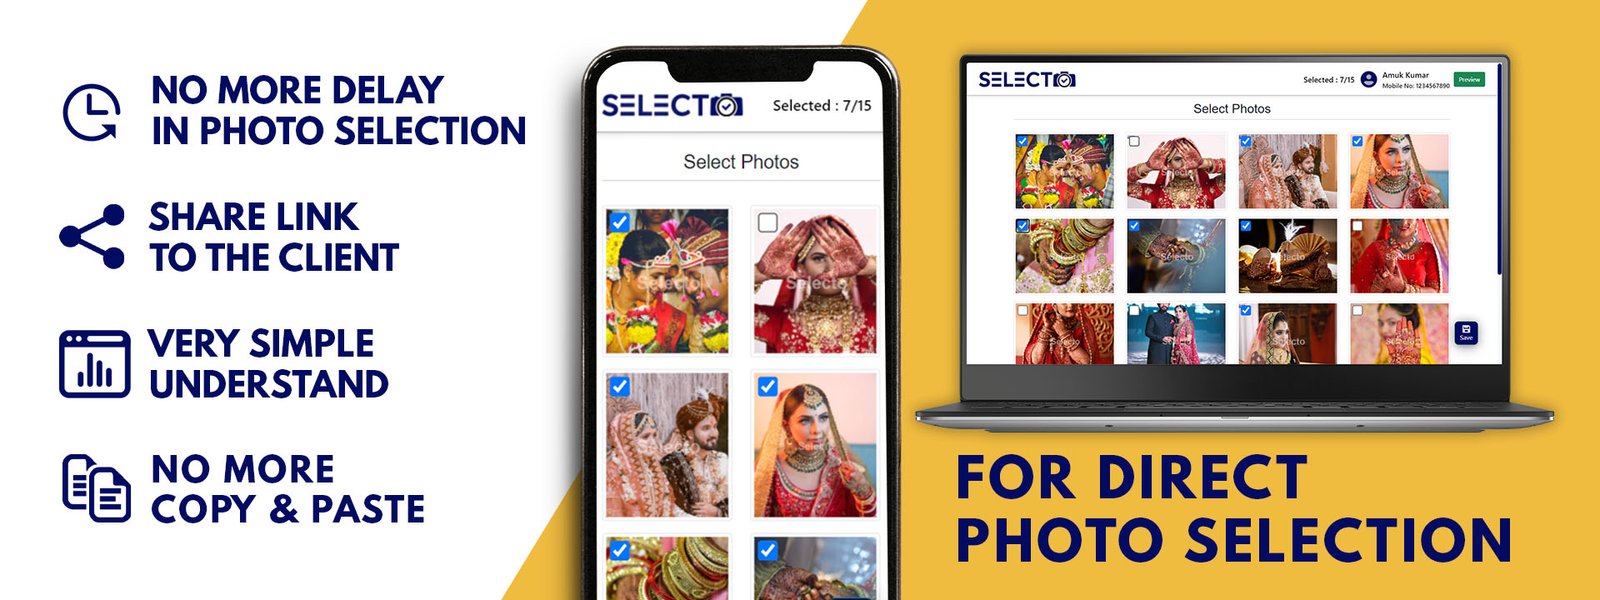
Now to to Project and click the Payment button and pay for the project according to charges. After Paying share the given link to your client for photos selection.
Final Saved Your Selected Photos
Once Your Photos Submited by the Clients Browse the Location where you want to save your selected phototos and then Click on Final Match.


